Background
Scanning for cloud compliance is critical. Using Inspec, you can easily scan AWS accounts to ensure adherance to your internal policies. Not only can you used Inspec to custom tailor your cloud policies, but you can use that in conjunction with Chef Compliance for on demand scanning, automated scanning on a schedule, and dashboards.
For now, this guide will cover how to upload a profile to Chef Compliance within Chef Automate’s UI, how to set up the built in AWS integration, and how to set up a scan job to scan the account.
The Profile
If you have access to premium content in Chef Automate, a good place to start is with the AWS CIS Foundations Level 1.
If you do not, I have started an example profile on my github
Profiles are also really easy to write yourself. As every organization is different, this is recommended to ensure organizational level requirements are being captured.
Scanning Nodes Using Chef Compliance
Uploading Your Profile
Navigate to your Chef Automate instance
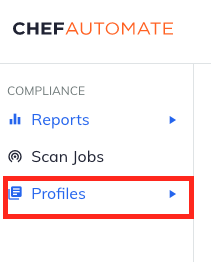
Click on the Compliance button at the top of the page

Click on the profiles button on the left side of the page
Click the Upload Profile button
Click Select File in the pop-up and select your .zip file of your profile.
At this point, your profile will be verified and uploaded into Chef Compliance under the namespace of the currently logged in user.
Setting Up Your AWS Integration
Navigate to your Chef Automate instance
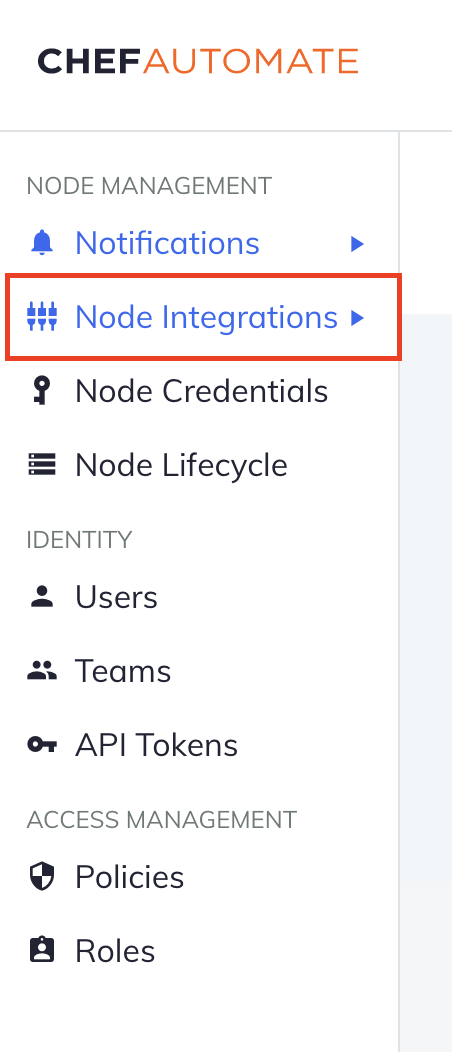
Click on the Settings button at the top of the page

Click on the Node Integrations button on the left side of the page
Click the Create Integration button
Select AWS and fill out the form keeping the following in mind:
- Name your integration something meaningful
- Select “API” for service. This will auto discover all regions in the integrated account. If you intend to scan actual EC2 instances, using the EC2 service type would be acceptable. This will auto discover all EC2 instances in the integrated account.
- This is going to require AWS Access Keys for the account you intend to integrate. The account you intend to use should have at minimum global read permissions (
arn:aws:iam::aws:policy/ReadOnlyAccess)
Once you’ve filled out all the information, click Save Integration
Creating a Scan Job For Your AWS Account
Navigate to your Chef Automate instance
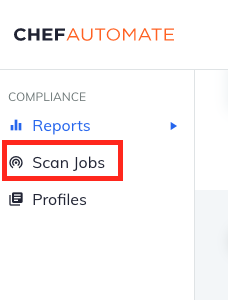
Click on the Compliance button at the top of the page
Click on the Scan Jobs button on the left side of the page
Click Create New Job
Select your AWS integration from the list
- You can filter what accounts/regions you want to scan from this page using filters and tags
Set your schedule for your scan. If you want this scan to happen immediately and only 1 time, do not set a schedule.
Save your job
Once this scan job runs, you can view reports related to your specific regions’ compliance.